| Item | Notes |
|---|---|
| GPIBEE device | Ships with USB Network Mode pre-configured |
| USB-C cable | For power and communication |
| GPIB cable (IEEE-488) — optional | To connect your instrument(s) — not needed if GPIBEE is plugged directly into your instrument's GPIB port |
| Computer with USB port | Windows 10/11, macOS, or Linux — no driver installation required |
| Web browser | Chrome, Firefox, Edge, Safari — any modern browser |
① Connect a USB-C cable from GPIBEE's bottom edge to your computer.
② Connect a GPIB cable (optional) from GPIBEE's GPIB port to your instrument — or plug GPIBEE directly into your instrument's GPIB port.
③ That's it — GPIBEE is fully connected and ready to power up.
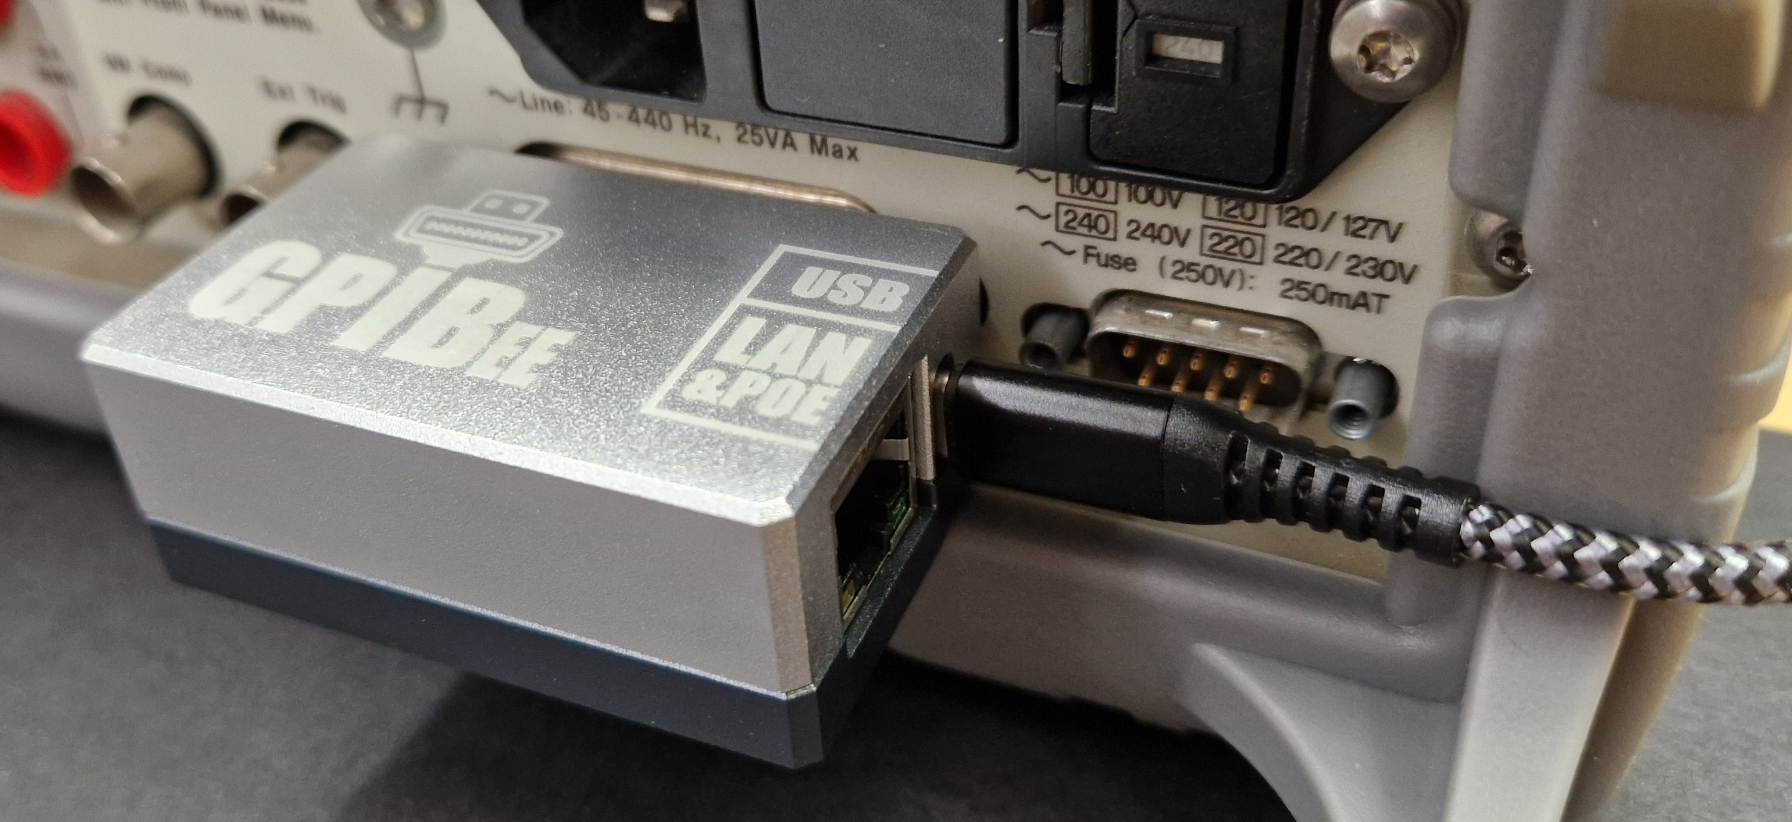
After connecting USB, GPIBEE starts up. Both LEDs blink twice (normal startup) — this confirms GPIBEE is powered. The orange LED then lights up solid, confirming USB Network Mode is active — this check is worth doing too.
Your computer will recognize a new USB Ethernet adapter named "GPIBee" and assign itself an IP address automatically via GPIBEE's built-in DHCP server.
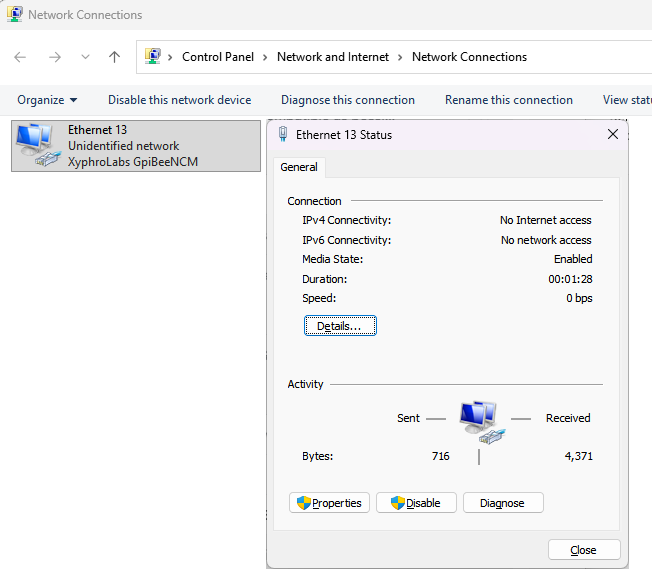
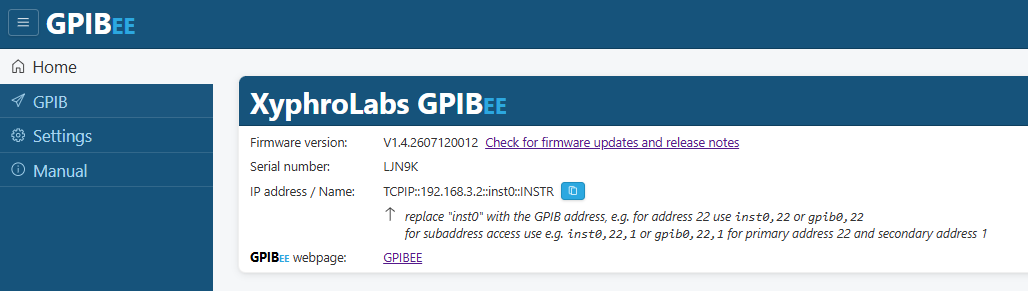
Open any web browser and navigate to:
The GPIBEE web interface loads. From here you can monitor status, configure settings, and send GPIB commands directly.
ping 192.168.3.2 in a terminal to verify reachability.
Make sure your instrument is powered on and connected. In the web interface, click GPIB in the left sidebar, then click Scan to scan for instruments — a list of connected GPIB devices appears. Select the one you want to interact with.
In the Commands panel you can now interact with the selected instrument. If your instrument is SCPI compliant, you can press the query button directly — the response to the *IDN? query, the instrument's identification string, appears in the Log below.
A successful *IDN? returns a string like:
MANUFACTURER,MODEL,SERIAL,FIRMWARE
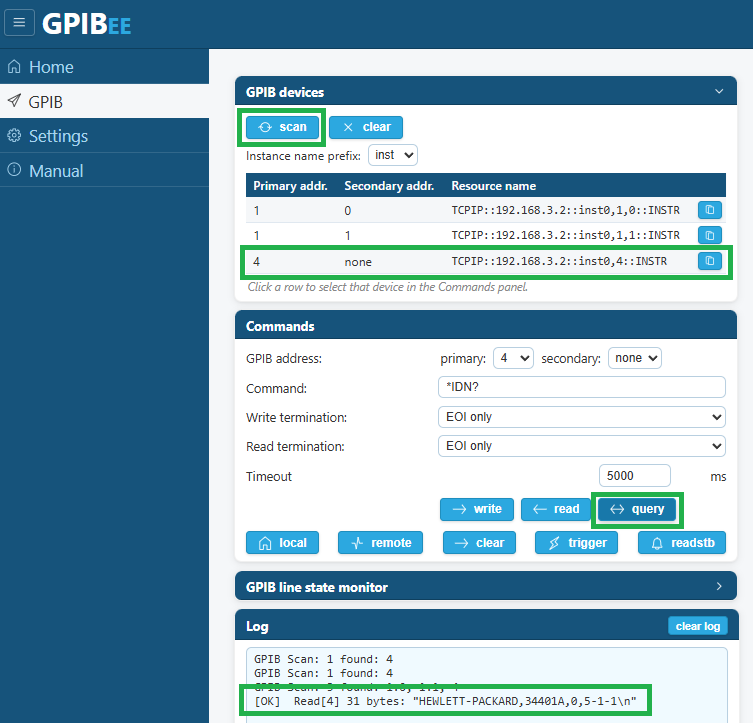
*IDN? response in the Log.GPIBEE in USB Network Mode exposes a VXI-11 interface over the USB Ethernet connection. Use these resource strings in your software:
Most VISA implementations (NI-VISA, R&S VISA, Keysight, PyVISA) are also capable to auto-discover GPIBEE via VXI-11 or LXI/MDNS discovery.
These resource strings work the same way from any VISA-compatible environment — including LabVIEW, MATLAB's Instrument Control Toolbox, and NI-VISA/R&S VISA directly. To keep this quick start guide short, only a PyVISA (Python) example is shown below.
import pyvisa
rm = pyvisa.ResourceManager()
inst = rm.open_resource('TCPIP::192.168.3.2::inst0::INSTR')
print(inst.query('*IDN?'))
import pyvisa
rm = pyvisa.ResourceManager()
inst = rm.open_resource('TCPIP::192.168.3.2::inst0,22::INSTR')
print(inst.query('*IDN?'))
If you prefer to use GPIBEE over a network instead of USB:
- Connect an Ethernet cable to GPIBEE's Ethernet (RJ45) port.
- GPIBEE automatically detects the Ethernet link and switches to Ethernet mode.
- The green LED lights up solid instead of the orange one — this confirms Ethernet mode is now active.
- GPIBEE obtains an IP via DHCP, or falls back to
192.168.1.2if no DHCP server is available. - Discover GPIBEE on the network using mDNS, SSDP, or your VISA resource manager.
| Action | Function |
|---|---|
| Press 5× within 2 s | Factory Reset — both LEDs blink 5× to confirm |
| Hold 5 s | Firmware Update Mode — LEDs flash alternately |
| Hold, plug USB, release | Alternative firmware update entry |
| Press once, wait ~3 s | Fast USB Network access Mode — temporary easy access to web interface when e.g. USBTMC USB mode is used |
ping 192.168.3.2.